A Beginner's Guide to Buoyage Systems: IALA Region A vs. Region B
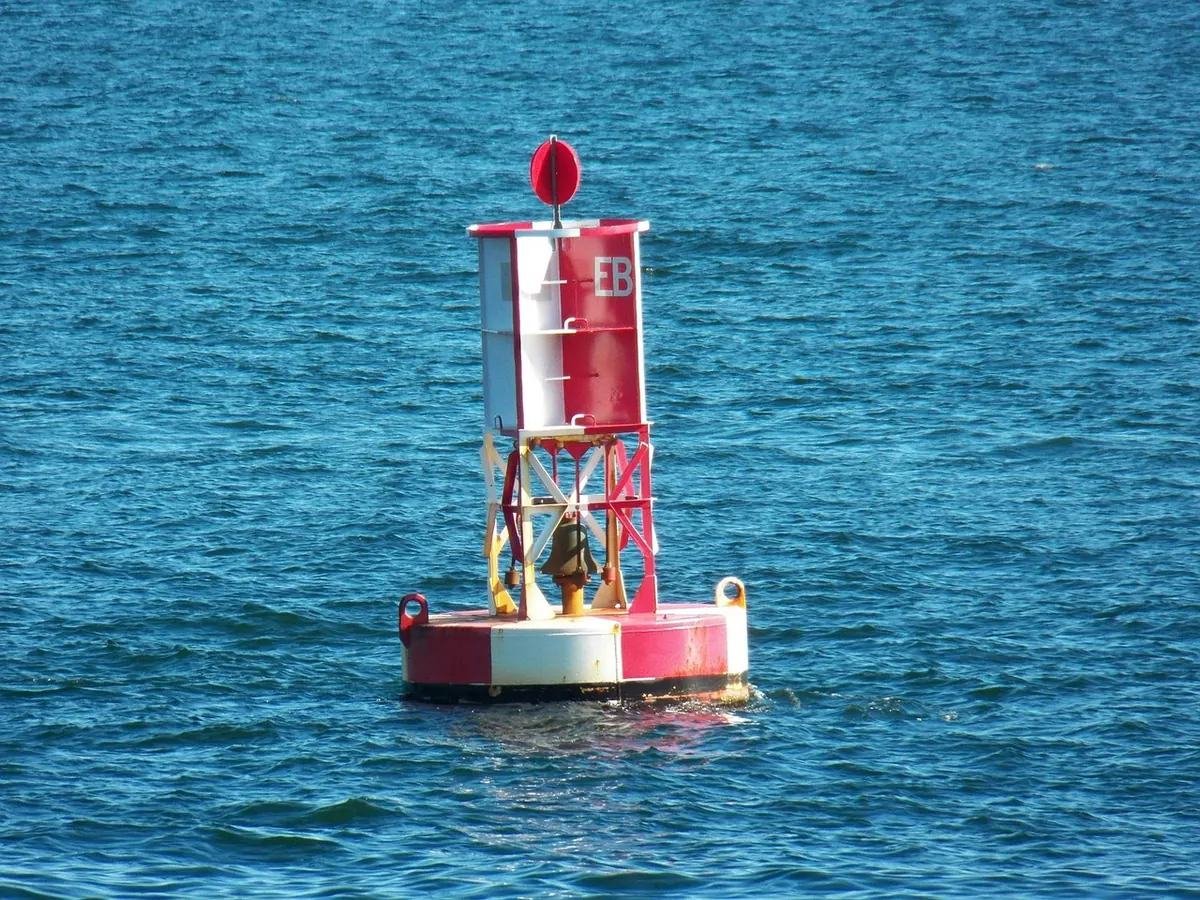
The buoy that would be red at home is green here, and it is sitting on the wrong side of the channel. Nothing has moved. You have simply crossed into the other lateral buoyage system, and noticing that before the tide does it for you is the first rule of sailing in unfamiliar water.
Buoyage is one of the few corners of navigation that is genuinely standardised around the world, which is exactly why the exceptions are so easy to miss. Two lateral systems cover the planet — IALA Region A and Region B — and they disagree about one thing: which colour belongs on which side of the channel. Everything else, from compass-shaped cardinal marks to yellow special marks, is common ground. Learn where the line falls and a foreign channel stops being a guessing game.
Why the World Ended Up With Two Systems
Before the 1980s, buoyage was a national habit rather than an international standard. Some countries painted red to port, others painted red to starboard, and a skipper moving between them had to relearn the water every time. The International Association of Marine Aids to Navigation and Lighthouse Authorities — IALA — drew up a single system to end the confusion.
The agreement worked, with one compromise. Neither bloc of maritime nations was willing to repaint tens of thousands of buoys, so the lateral marks were split into two regions and everything else was unified. Region A covers Europe, Africa, most of Asia and Oceania. Region B covers the Americas, Japan, South Korea, the Philippines and Taiwan. If you sail mostly in the Mediterranean or the Solent, you have probably never met a Region B channel. Charter a boat in the Caribbean or New England and you will meet little else.
Region A: Red to Port, Green to Starboard
In Region A, the rule is applied when you are proceeding in the direction of buoyage — usually from seaward towards a harbour, or upstream into an estuary. Red marks belong on your port hand, green on your starboard hand, and the buoy numbers increase as you head in.
The shapes reinforce the colours: port-hand marks are red cans (cylinders), starboard-hand marks are green cones. Lights follow the paint. A red buoy carries a red light, a green buoy a green light, so at night the colour alone tells you which side of the channel you are looking at, provided you know which way "in" is.
Direction of buoyage is not always obvious from the water. Charts show it with a magenta arrow, often with a letter, and the sailing directions will spell it out for rivers and estuaries where the tide makes "inbound" ambiguous.
Region B: Red to Starboard, Green to Port
Region B flips the colours. Coming in from seaward, red marks sit on your starboard hand and green on your port hand. The American mnemonic is red right returning, and it is worth memorising even if you sail in Europe, because it explains the logic of half the world's coastlines.
Two warnings about that phrase. First, "returning" means heading in from seaward, so the mnemonic reverses the moment you turn around and head out — which is precisely when a tired helmsman makes the mistake. Second, in the United States the returning direction is a convention rather than a compass bearing: along the Atlantic and Gulf coasts, running north and west generally counts as returning.
The shapes swap along with the colours. In Region B, starboard-hand marks are red cones or nuns and port-hand marks are green cans. One useful anchor for the memory: in both regions the can shape belongs on the port side and the cone on the starboard side. Only the paint changes hands. Where a channel forks, a mark banded in red and green shows which branch is the main one, and here the two regions genuinely mirror each other — the same band pattern that means "main channel to starboard" in Region A means the opposite in Region B. Confirm it on the chart the first time you meet one.
Reading an Unfamiliar Channel: A Routine That Works
Arriving in a new port is not the moment to reason from first principles. Use the same sequence every time and the answer falls out quickly.
- Start with the chart, not the water. Find the direction-of-buoyage arrow and the numbered sequence before you look at a single buoy.
- Confirm the region. The chart legend and the pilot book will tell you, and so will the harbour office or charter base. If two sources disagree, ask someone local.
- Predict the first pair. Say out loud which side you will keep the first red and the first green on. A prediction you have spoken is much harder to talk yourself out of.
- Check the lights. Colour and rhythm are your best evidence after dark, and they match the buoy colour in both regions.
- Fall back on shapes and topmarks. When the sun is low, the paint is faded or the crew is colour-blind, a cone and a can are unambiguous where red and green are not.
- Let each mark confirm the last. If the second buoy contradicts the first, stop and re-check. A wrong assumption corrected early costs a minute; one carried up a channel costs a lot more.
The Marks That Never Change
The lateral marks are the only part of the system that shifts between regions. These are identical wherever you sail, which is why they are worth knowing cold.
- Cardinal marks — black and yellow, with two cones as a topmark, telling you where the safe water lies relative to a hazard. North has both cones up, south both down, east base to base like a diamond, west point to point like an hourglass. Their quick lights follow a clock face: continuous quick for north, three flashes for east, six flashes plus a long flash for south, nine flashes for west.
- Isolated danger marks — black with a red band and two black spheres, standing over a single rock or obstruction with clear water all around.
- Safe water marks — red and white vertical stripes with a single red sphere, marking the middle of a channel or a landfall.
- Special marks — yellow, with a yellow X topmark, flagging cables, pipelines, racing marks or exclusion zones rather than a navigable side.
- Emergency wreck marks — blue and yellow vertical stripes with an upright yellow cross, posted over a new wreck before it appears on charts.
If the topmark and the chart seem to disagree with the colour, trust the topmark. Cardi
Where Local Practice Creeps In
Regions describe the general rule; individual waterways add footnotes. In the United States, the Intracoastal Waterway marks its route with small yellow squares and triangles fixed to ordinary lateral buoys, which tell you where the ICW turns rather than where the channel edge is. Harbour authorities add ferry marks, pipeline marks and racing marks that belong to no international system at all.
Island-hopping trips can cross the line more than once: plenty of Caribbean passages run between Region B waters and neighbours using Region A. Buoys also move, break away and get replaced temporarily, and a chart corrected two seasons ago may not match what is bobbing in front of you. Where the marks and the chart disagree, slow down, use the sounder and treat the buoyage as one source of information rather than the only one.
The Two-Minute Check Before You Cast Off
Before you leave the dock, spend two minutes with the chart and answer four questions: which region am I in, which way is the direction of buoyage, what is the first mark I will meet and which side do I keep it on, and what light will confirm it after dark. Write the answers on the corner of the chart or in the log.
That small habit does more for your confidence than any amount of memorised colour. The system is deliberately simple once you know which half of the world you are sailing in — and the fact that it is simple is exactly why it is worth checking rather than assuming.